Viking Poker
Poker tournament management and game timer.
HTML5CSS3Tournaments
Custom software that ships
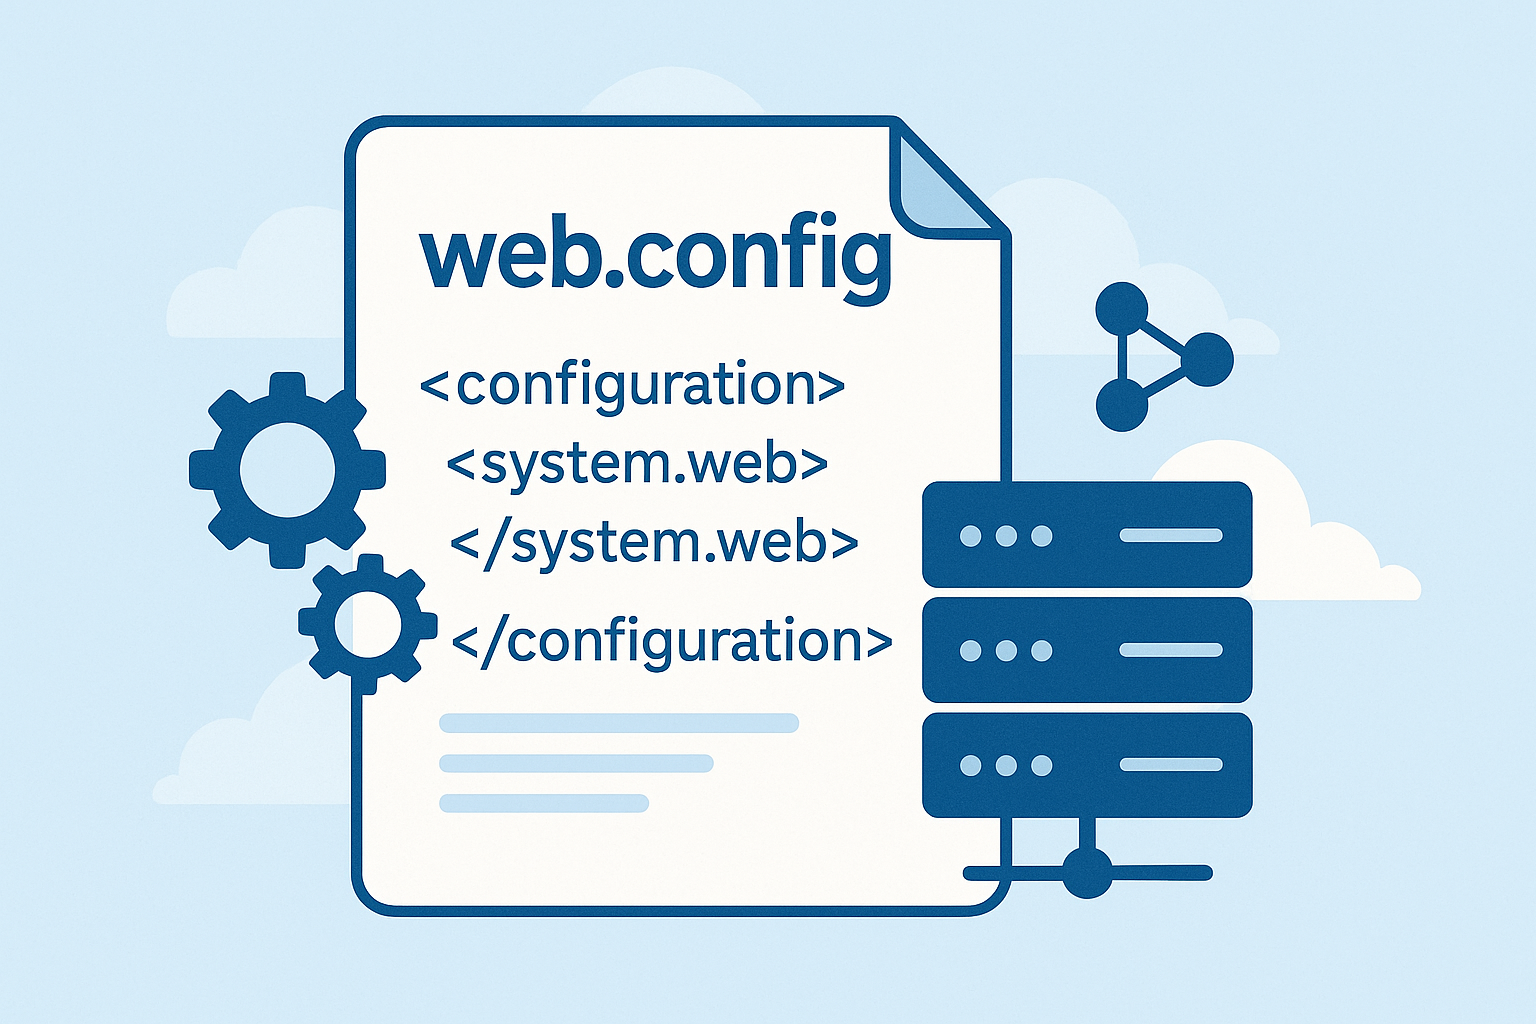
Web apps, databases, and brand-ready digital experiences - built with C#, ASP.NET, and a craftsman's eye for detail.

Originally from Denmark, I moved to New York in 1998 and worked with leading financial and technology firms including Morgan Stanley, Reuters, Aetna, and Bank of America.
In 2006 I relocated to Amelia Island, Florida. Beyond client work I'm passionate about technology, problem-solving, and creativity - coding, electronics, LEGO, and the kitchen.
At FunchTech we deliver high-quality software and website solutions tailored to your needs. Let's create something great together.
Always learning, always shipping - modern tools for durable products. (Cooking's the same story.)


Selected client and product work - from local businesses to tournament platforms.
Poker tournament management and game timer.

Tagrens, facaderens, fliserens & specialrens.

Stickers, magnets, 3D-printed gifts and fan gear.
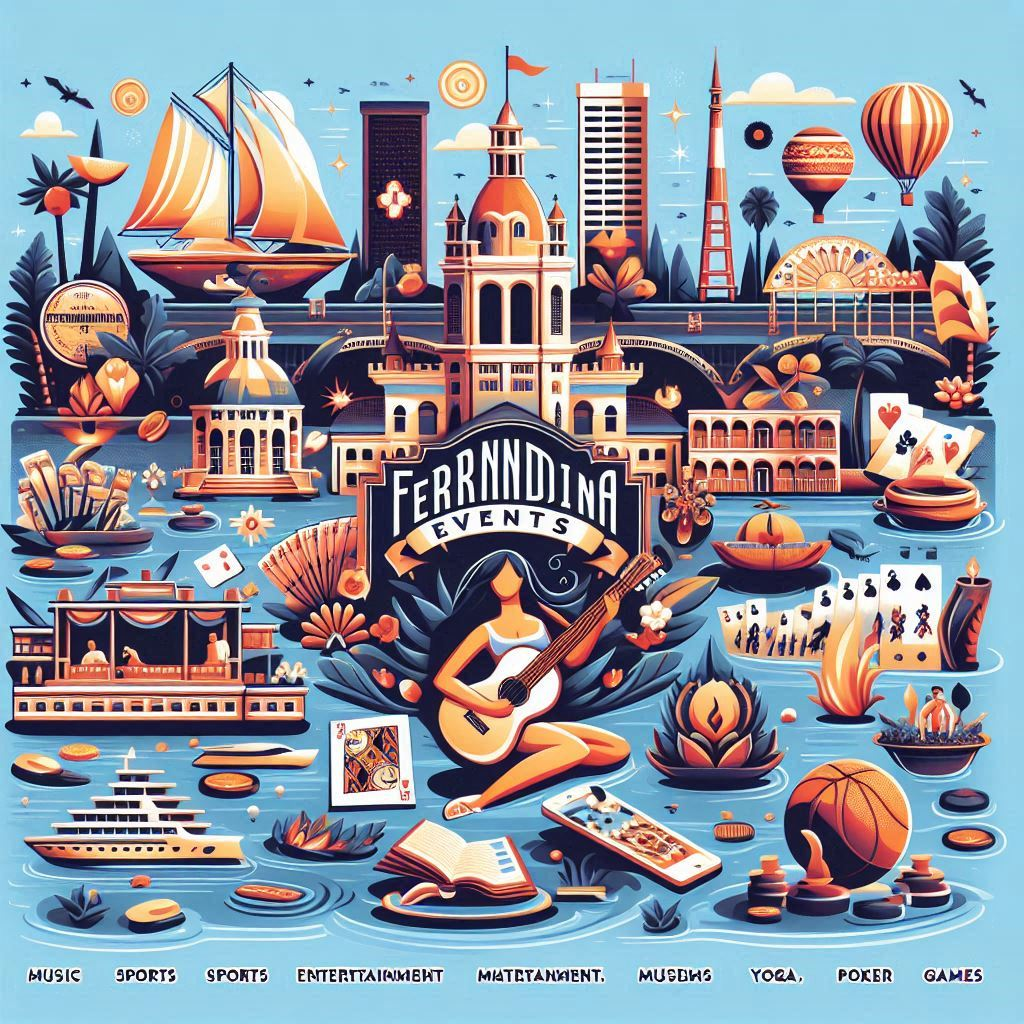
Community events - music, sports, museums, government.
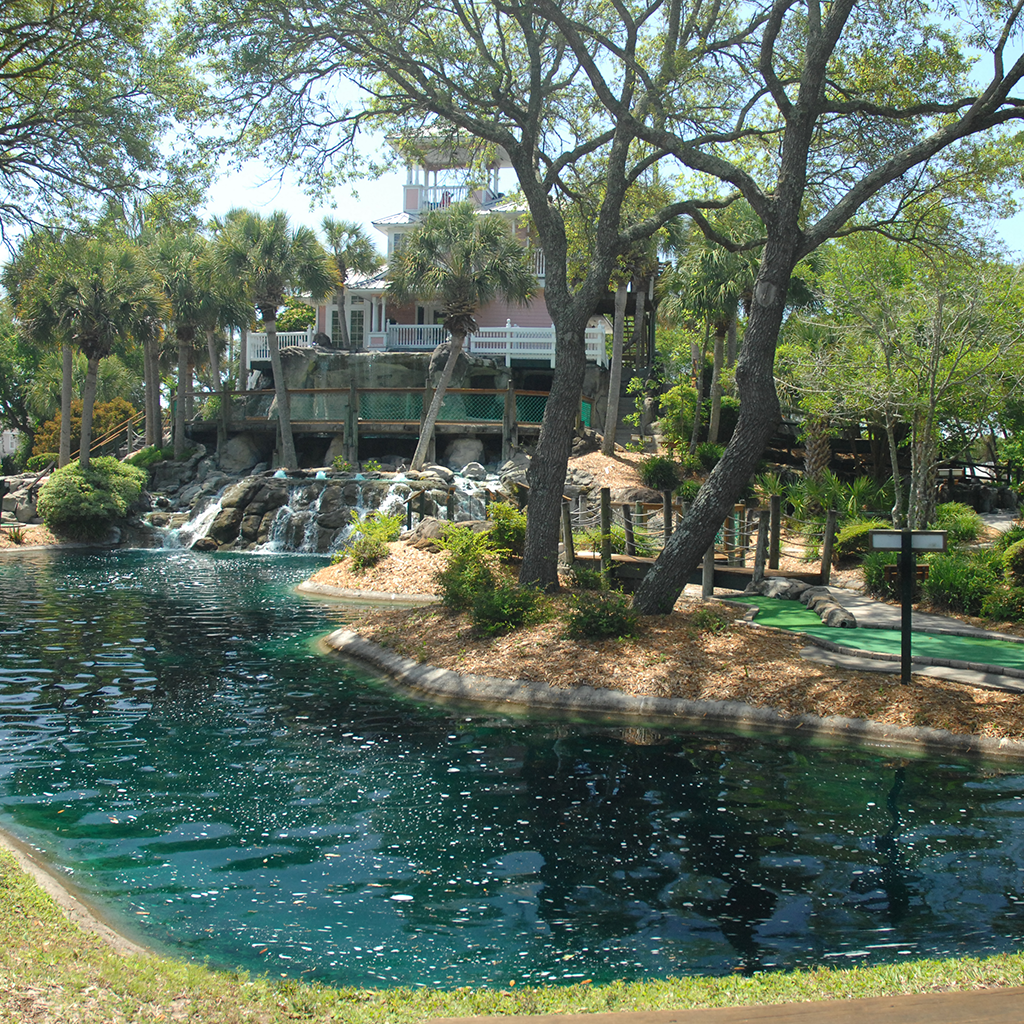
18 1/2 holes of putt-putt in the center of the island.

Waterfront seafood restaurant and live music.
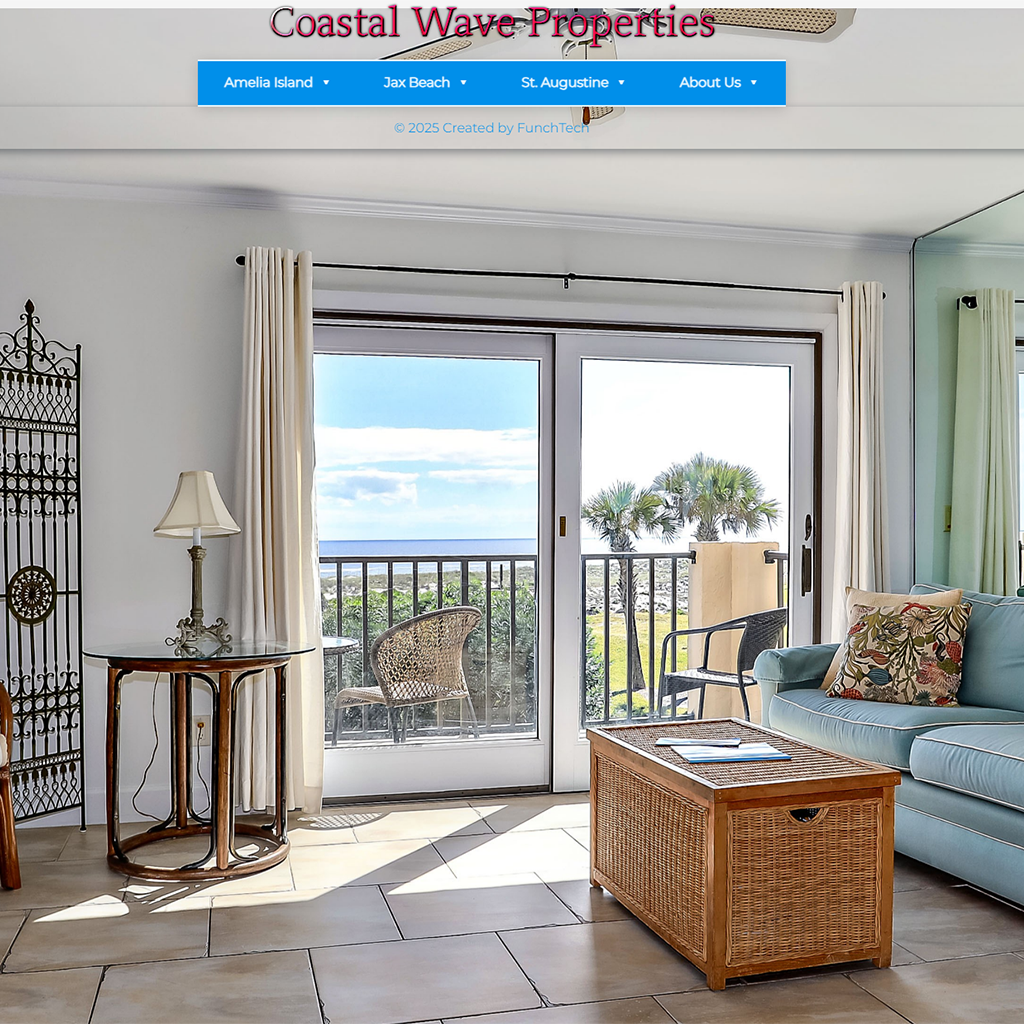
Vacation property rental platform.

Garage door repair business site.

Professional cleaning company website.

Lawn service company presence.

Recipe collection and culinary projects.
Practical notes on Windows, hosting, hardware, and the occasional kitchen experiment.
Based in Jacksonville, FL - available for custom software, websites, and database work.

Created with by Johnny Funch